
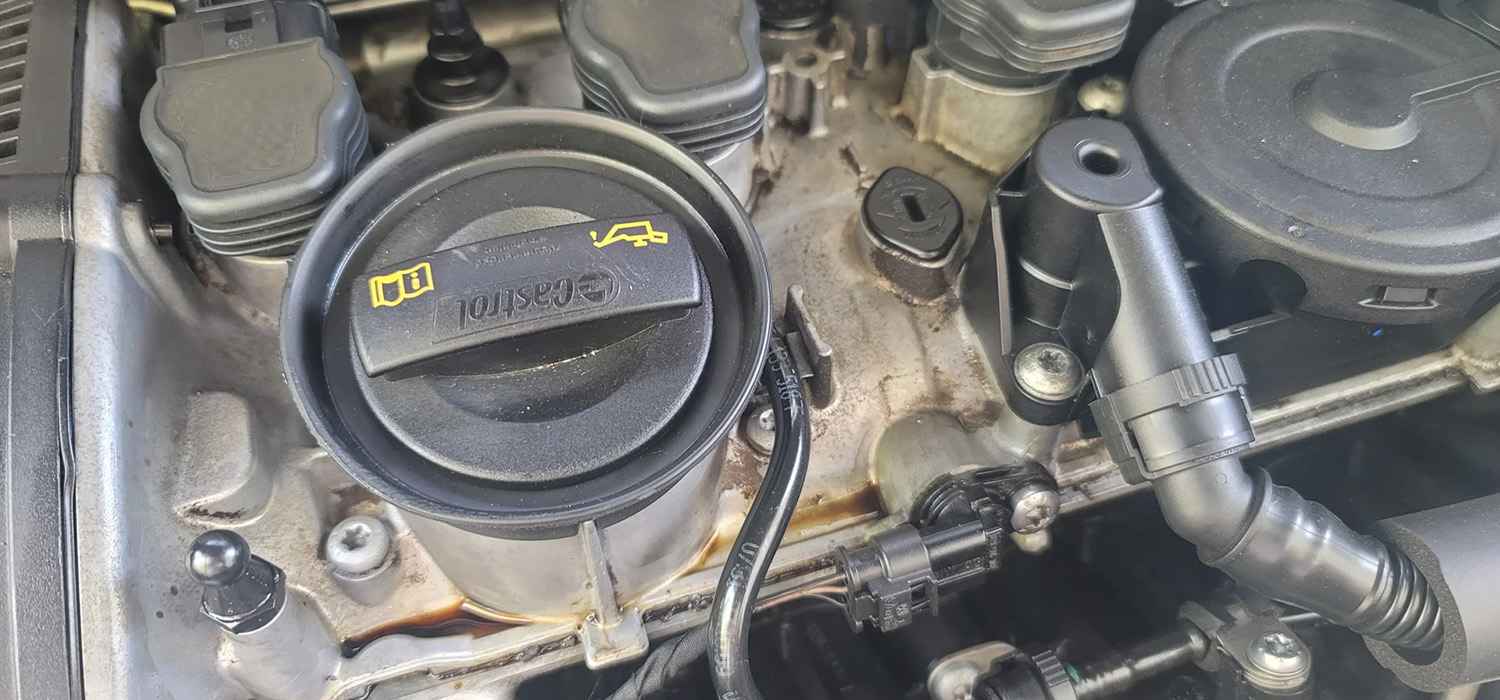
Audi Valve Cover Gasket Replacement in Dubai
Audi valve cover gasket replacement should begin with proof that oil starts at the cover-to-cylinder-head joint. We clean and trace the highest fresh leak, inspect the cover and crankcase ventilation, protect the ignition and wiring, then choose a gasket repair, complete cover, or a different leak solution.
Valve cover leak inspection
We locate the leak and check the cover before recommending a gasket or complete cover replacement.
Locate the oil leak
We clean the affected area and trace fresh oil to its source, including nearby seals and housings.
Check the cover and seals
We inspect the gasket, plug-well seals, fasteners and cover for wear, damage or distortion.
Confirm the repair
Crankcase pressure and ventilation faults are checked where relevant so a new gasket is not left under the same stress.
Your quote covers the confirmed leak, the required seals or cover, and the checks after installation.
What a failing upper-engine seal can look like
The symptom shows where to inspect, but none of these signs proves the valve cover gasket by itself.
Oil around the cover
A fresh line at the cover joint supports a gasket leak. Old residue, spilled oil, dye from prior work, or fluid running from a higher cap or breather still has to be excluded.
Burning oil smell
Oil can reach a hot exhaust shield or housing and produce odor or smoke. The source, amount, heat location, and fire risk must be checked before more driving.
Oil in spark-plug wells
An inner seal or cover problem can contaminate coil boots and plugs, contributing to insulation breakdown or misfire. Coils, plugs, connectors, and the actual misfire evidence need inspection.
Repeated oil top-ups
An external leak may lower the oil level, but turbocharger, PCV, valve-seal, piston-ring, or other consumption paths can coexist. Record measured additions and mileage.
Oil and dust on the engine
Road dust can turn a slow seep into thick deposits. Cleaning and reinspection separate active leakage from residue that accumulated over years.
Secondary faults
Low oil, damaged ignition components, an air leak through an integrated PCV system, or disturbed wiring may trigger symptoms. Fault codes guide testing but do not name the gasket.
The highest fresh leak matters more than the lowest drip
An Audi engine can have several upper and lower leak points close together. The repair plan follows the confirmed origin and the design fitted to the VIN.
Perimeter or inner seal
Fresh oil begins at the cover-to-head joint or around plug wells. Confirm the cover is not cracked, distorted, heat-damaged, or carrying a failed integrated breather.
Filler cap and PCV system
A hardened cap seal, loose cap, damaged hose, diaphragm, separator, or excessive pressure can wet the cover and imitate a perimeter-gasket leak.
Pump, adjuster, or plug seal
Vacuum pumps, camshaft adjusters, end plugs, solenoids, and related seals vary by engine. Oil can travel along the same seam as the valve cover.
Timing-cover joints
Upper timing covers and multi-surface joints can leak beside the valve cover. Cleaning and viewing the junction are important before approving scope.
Housing and cooler seals
Oil-filter housings, coolers, pressure switches, turbo lines, and other fittings can spread oil across the engine or into the undertray.
Oil pan or crankshaft seals
Lower leaks need their own source confirmation. Oil blown rearward from above can make a pan, bellhousing, or subframe look like the origin.

How we confirm the leak path
Gasket only, complete cover, or a different repair
The correct choice depends on the exact engine, confirmed source, cover construction, sealing surfaces, ventilation design, and condition found after disassembly.
Replace the gasket or seal set
This can be appropriate when the cover remains flat and intact, integrated functions test correctly, sealing surfaces are sound, and the required gasket is serviced separately.
- Leak is at the perimeter or serviceable inner seal
- No crack, thread damage, or distorted groove is found
- Breather and pressure behavior are acceptable
- Correct seals and any specified hardware are available
Replace the complete valve cover
A complete cover may be the supported repair when composite material is cracked or warped, a seal is not separately serviceable, an integrated PCV function has failed, or fastener seats and sealing channels are damaged.
- Cover condition is documented after removal
- Integrated valves, baffles, and ports match
- Connector and hose arrangements are correct
- Genuine, OEM-supplier, or aftermarket status is clear
Repair another leak source
If fresh oil begins at a cap, pump, adjuster, timing joint, housing, line, or lower seal, changing the valve cover gasket will not solve the complaint.
- Highest wet point is outside the gasket joint
- Airflow or gravity explains the visible spread
- Cleaning confirms the alternative origin
- Scope addresses contaminated belts, wiring, or ignition parts
Crankcase ventilation belongs in the diagnosis
Combustion gases that pass the piston rings enter the crankcase. The ventilation system meters those gases into the intake while controlling pressure and separating oil. A restriction, torn diaphragm, failed regulating valve, damaged hose, incorrect assembly, or excessive engine blow-by can alter pressure and airflow.
Excess positive pressure can push oil through a weak seal. Excess vacuum or an air leak can create noise, mixture faults, rough running, or oil-consumption behavior. The direction and severity vary by system, so a generic cap-removal test is not a complete diagnosis.
On some engines the pressure-control components are part of the valve cover. On others they are separate. We check the actual design and fault pattern before deciding whether a gasket, cover, hose, PCV assembly, or deeper engine assessment is appropriate.
- Oil filler cap, dipstick arrangement, hoses, connectors, and separators inspected
- Whistle, suction, pressure, mixture faults, and oil-consumption history considered
- Cover ports and internal passages matched to the exact replacement
- Contamination in intake plumbing evaluated only where symptoms support it
- Repeat leakage risk explained before parts approval
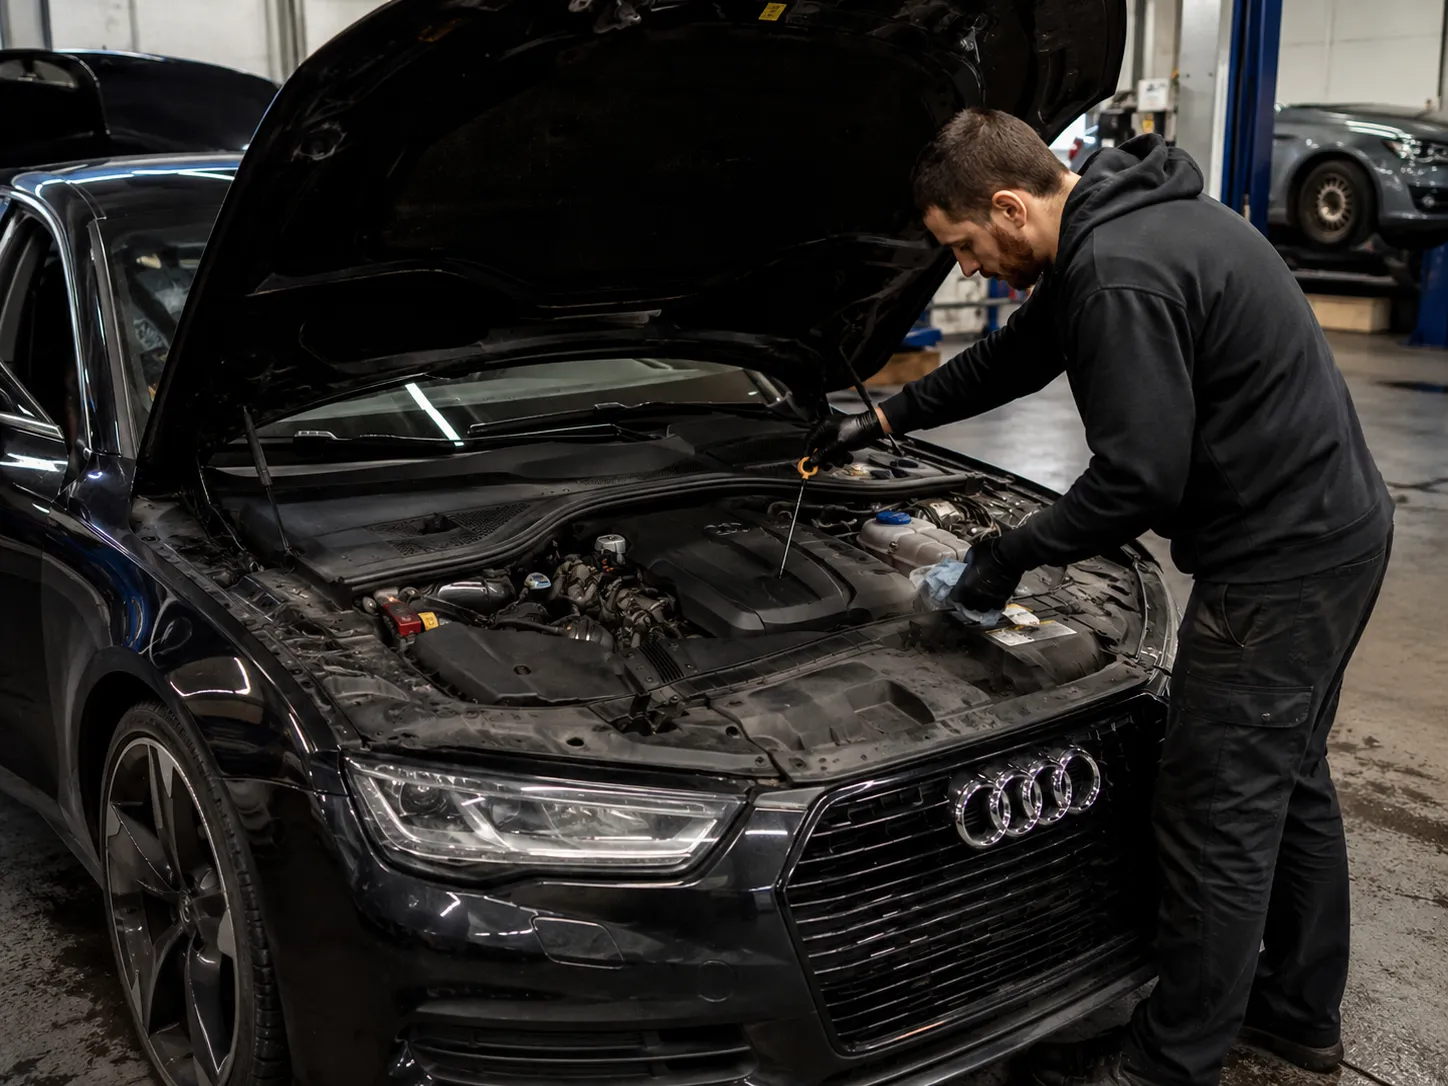
Smoke and oil level decide urgency
A small seep and oil reaching a hot exhaust area are different situations. Because leakage can worsen, check level only by the approved vehicle procedure and avoid assumptions about remaining range.
Dry dusting or light seep
Photograph the area and arrange diagnosis. Monitor the approved oil-level display or dipstick procedure and watch for new odor, smoke, drips, or warnings.
Fresh wet oil or repeated top-up
Do not keep adding oil without finding the cause. Overfilling creates another risk, while a falling level can damage the engine.
Burning odor or visible smoke
Oil may be reaching a hot surface. Switch off in a safe place and call before driving again, especially if smoke continues after stopping.
Heavy leak or oil warning
Do not run the engine with a red oil-pressure warning, rapidly falling level, large puddle, active fire, heavy smoke, or oil reaching a damaged belt.
How a confirmed valve cover repair is completed
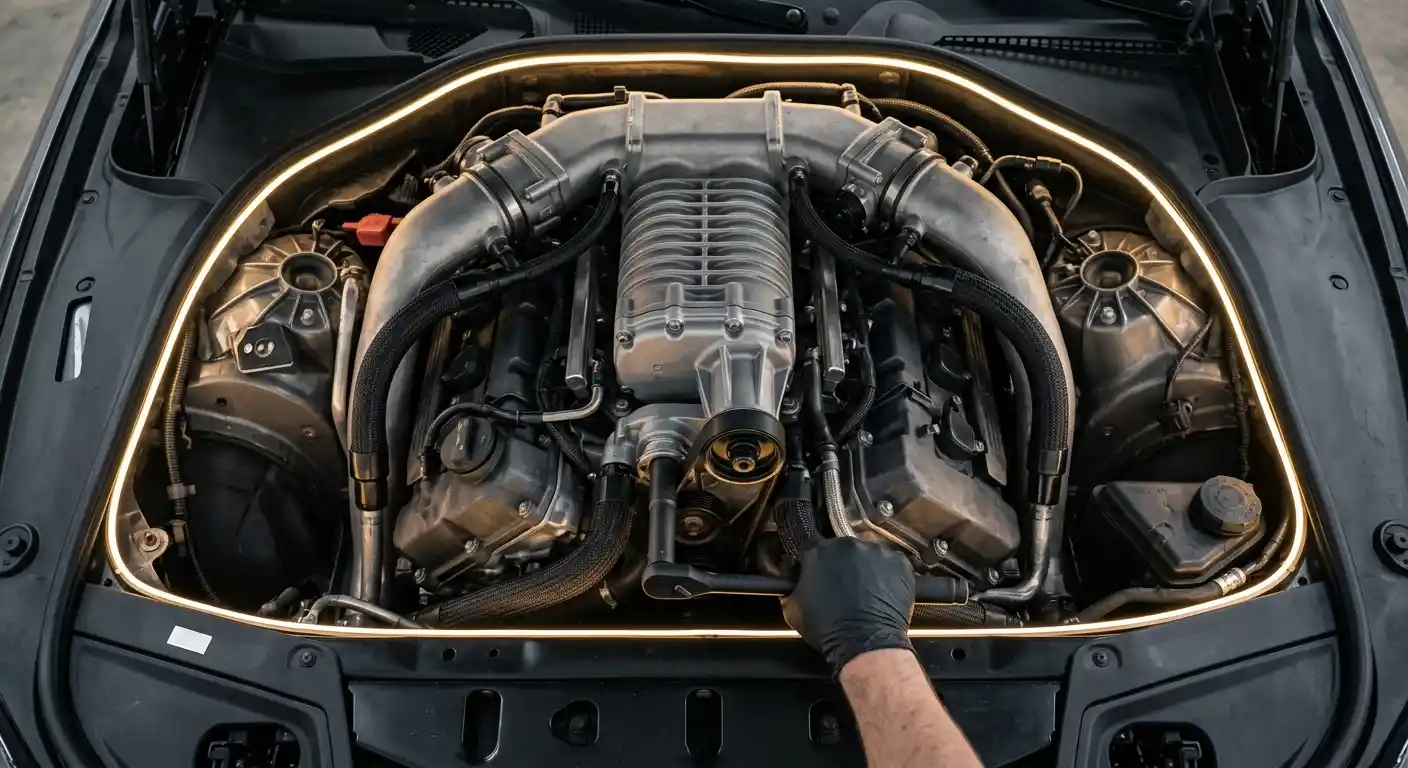
Clean, dry, stable, and rechecked
After reassembly, we confirm oil level by the correct procedure, inspect all connections, start the engine, and watch the repaired joint as temperature changes. The original odor or smoke may take time to disappear if residue reached a shield, so accessible contamination is cleaned and the difference between remaining residue and new leakage is explained.
Verification includes idle quality, relevant fault memory, crankcase or PCV behavior when it formed part of the diagnosis, plug-well condition, coil and connector security, and a second visual inspection after an appropriate heat cycle or road check. A dry cover edge is only meaningful when neighboring leak points also remain dry.
What changes cost and workshop time
- VIN, engine layout, one or two covers, and access requirements
- Separate gasket versus complete cover with integrated PCV functions
- Injector seals, plug-well seals, breather hoses, wiring clips, and specified hardware
- Oil contamination of coils, plugs, belts, alternator, mounts, or exhaust shields
- Broken fasteners, damaged threads, warped cover, previous sealant, or poor prior work
- Time needed to clean and reproduce a slow, hot, or airflow-dependent leak
- A second confirmed source such as a pump, timing joint, housing, or oil line
The written estimate follows source confirmation and exact parts identification. It separates required repair from optional preventive work.
Audi valve cover gasket replacement FAQs
How do I know the valve cover gasket is leaking?
Fresh oil beginning at the cover-to-cylinder-head joint, plug-well seal, or specified cover junction supports the diagnosis. Cleaning and reinspection are often needed because oil from a cap, PCV system, vacuum pump, cam seal, timing cover, housing, or line can spread across the same area.
Can I drive with a leaking valve cover gasket?
It depends on leakage rate, oil level, where the oil travels, and whether smoke or warnings appear. Call for guidance. Stop and arrange recovery for a red oil-pressure warning, heavy leak, large puddle, persistent smoke, fire, rapidly falling level, or oil contaminating a damaged belt.
Why does the car smell like burning oil?
Oil may be reaching a hot exhaust manifold, turbocharger housing, shield, or another heat source. A valve cover leak is one possibility, but spilled oil and neighboring upper-engine leaks can cause the same odor. The area should be inspected before continued driving.
Can a valve cover leak cause a misfire?
Oil entering a spark-plug well can damage or contaminate coil boots, plugs, and electrical insulation, which may contribute to misfire. An integrated PCV fault can also affect mixture. Fault data and cylinder-specific testing should confirm the actual cause.
Does the full valve cover need replacement?
Not always. A gasket may be enough when the cover is flat, intact, serviceable, and its integrated functions work correctly. A cracked, warped, heat-damaged, or non-serviceable cover, damaged sealing channel, or failed integrated PCV assembly can require complete cover replacement.
Why check the PCV system during this repair?
The crankcase-ventilation system controls pressure and airflow. A restriction, failed regulator, damaged hose, torn diaphragm, or excessive blow-by can push oil through seals or create vacuum-related running problems. Leaving the contributing fault can cause a repeat leak.
Should sealant be used on the whole gasket?
No generic rule applies. Many molded gaskets install dry except at specified corners or multi-surface joints, while another design can require an approved sealing compound. Excess sealant can squeeze into the engine. The exact engine repair procedure decides location and amount.
How long does valve cover gasket replacement take?
Time depends on engine layout, one or two covers, intake and wiring access, injector or ignition relationships, brittle hoses, seized fasteners, cleaning, cover condition, integrated PCV parts, neighboring leaks, and post-repair heat-cycle checks. An estimate follows inspection and parts identification.
What information helps with a quotation?
Send the VIN, mileage, oil warning or message, recent top-up quantity and distance, where the car drips, when odor or smoke appears, fault codes if known, recent oil or engine work, and clear photos from above and below. Do not touch hot or moving components for a photo.
Arrange an Audi oil-leak inspection in Al Quoz 4
Send the VIN, oil-level history, warning text, and photos of the cleanest visible leak area. If there is heavy smoke, a red oil-pressure warning, a large puddle, or oil on a damaged belt, switch off safely and call for recovery guidance.